Check out this useful synopsis of a new report by Shell Oil on the future of energy in the world
http://www.theoildrum.com/node/9937#more
Sunday, April 28, 2013
Sunday, April 21, 2013

Sunday, April 7, 2013
A rocket stove for the greenhouse - do feed back to me if you build one yourself
 |
| Finished stove from the firebox end I have used the top of the acetylene bottle for more mass above the gas bottle |
The Stove components are ;
A 2 ft cylinder cut from an acetylene bottle and a bottle gas bottle (do take great care if you do use either of these cylinders - danger of lethal explosion!)
Ordinary house bricks (out of a skip)
about 4 foot of 7 inch flexible stainless flue liner (out of a skip)
Fire clay (from eBay)
bits and pieces and a frying pan for the lid of the firebox.
The internal flue pipe is single skin steel (scrounged) and the outside chimney is twin wall stainless flue (from eBay - not cheap but take your time and you can find bargains.
The heat storage is made by building a brick wall next to the indoor part of the flue (runs along the whole length of the greenhouse floor) and filling the gap with gravel and concrete slabs.
.
 |
| Base of the stove - bricks on concrete slab on top of rockwool insulation |
 |
| After the bricks laid with fire clay - I later enlarged the firebox which I found too small |
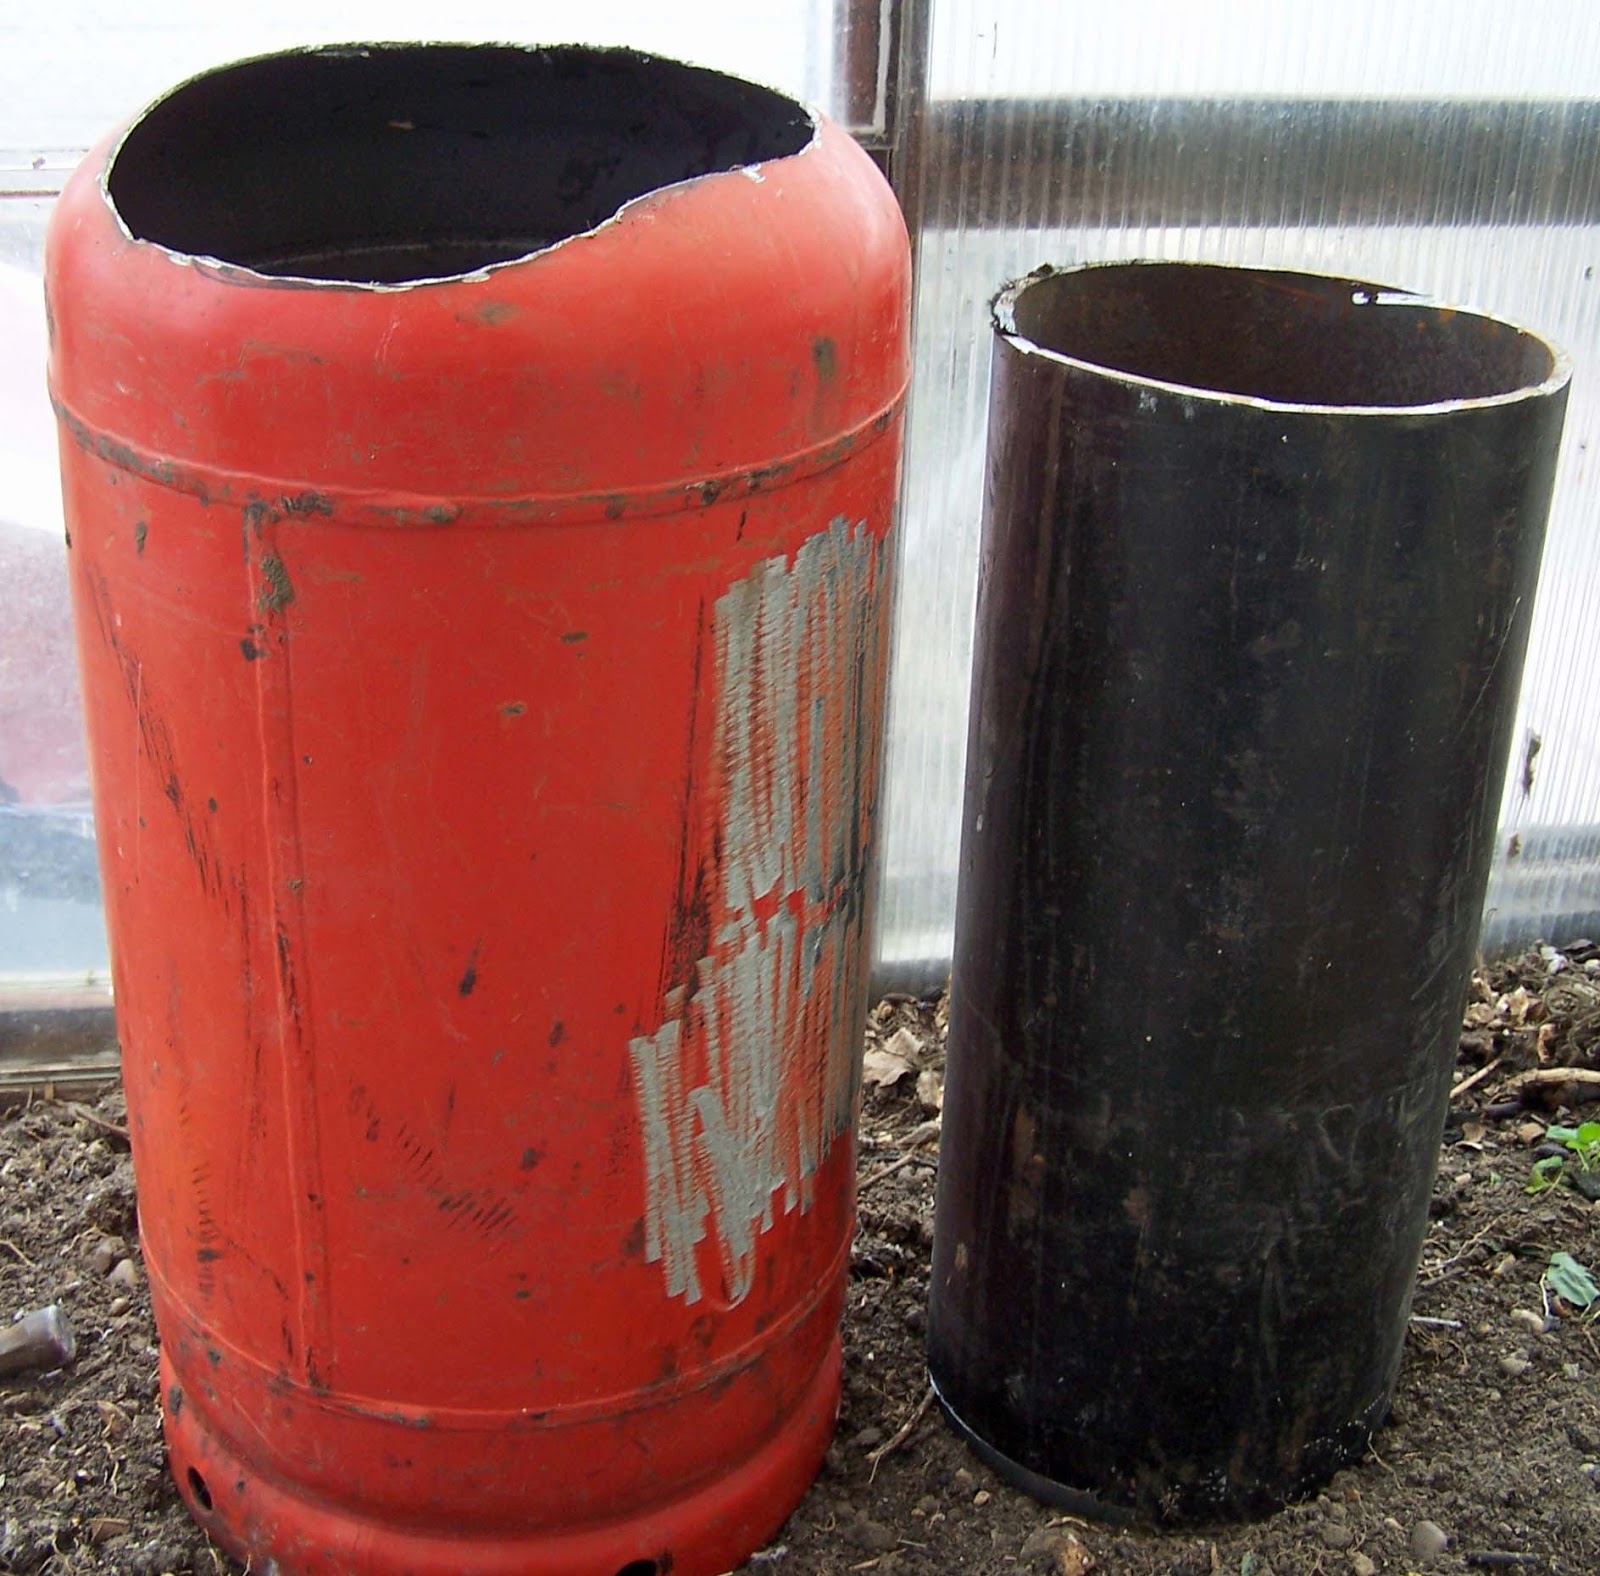 |
| The gas bottle with the top cut off with a jigsaw (this will end up the other way up) and the acetylene cylinder cut with a disk cutter after it has been filled with water to ensure there is no acetylene left inside! |
 |
| Looking down inside the gas bottle barrel showing the inner barrel of stainless flexible flue pipe which is insulated with ceramic fiber insulation (i had in the workshop but available from eBay) then the acetylene cylinder then a gap and lastly the gas bottle |
 |
| the hole cut at the base of the gas bottle to allow the flames to travel out to the flue pipe |
| Carefully shaped piece of flexible flue pipe to bridge then gap from bottle to flue. The whole assembly covered with a mix of sand , cement, and fire clay |
Monday, March 11, 2013
Making (bee) frames


Wednesday, February 6, 2013
Planking and tree planting with our WWOOFer
Using the chainsaw mill on a trunk of dry oak from our woodland with the help of our WWOOFer Aurora.
I have just finished re-building the Stihl 046 we use for the mill - needed a new cylinder and piston.


Aurora Planting trees in the wood with the help of Zero the dog!
Friday, February 1, 2013
Chippings galour

Some are for the chicken run, some to put around the raspberries and some I will take to our wood to make the track less muddy (its nearly impassable at the moment.)

The chippings will stay in the chicken run for about a year to get nicely mixed with chicken droppings and then be used as mulch around our fruit trees and bushes.
Friday, December 21, 2012

Subscribe to:
Posts (Atom)